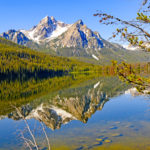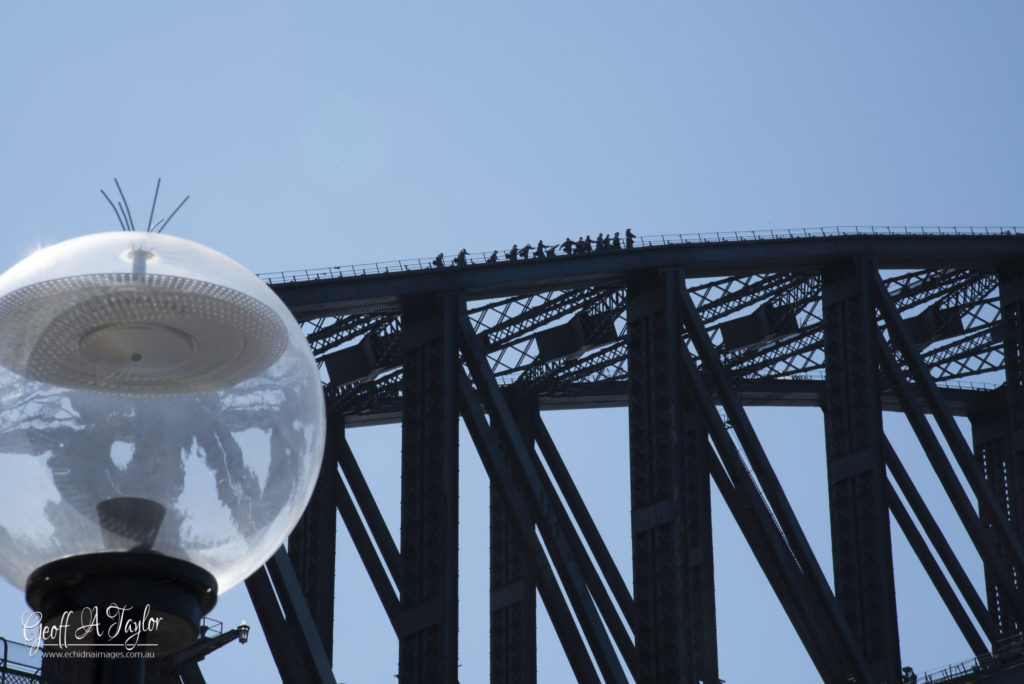
The images here are just a small fraction of the creative work from Photographer Geoff A Taylor and if you are looking for a particular image or artistic piece not shown here, please send a message via the contact page with your requirements. Also, remember, we offer tuition in different aspects of Photography and are available for custom Photo Shoots.
Rule of Thirds
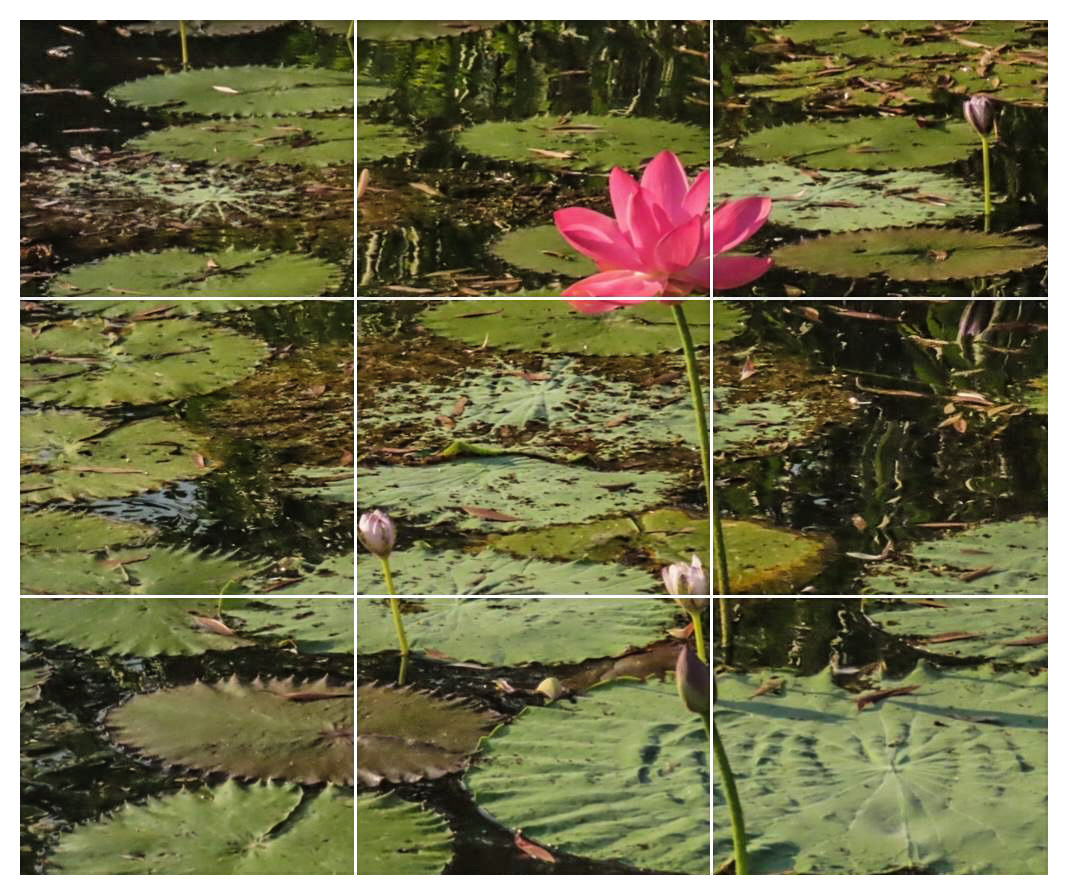
The Rule of Thirds is one of the most fundamental guidelines in photography and visual composition. It helps create balanced, engaging images by dividing the frame into nine equal parts, using two vertical and two horizontal lines. The idea is to position the key elements of the scene along these lines or at their intersections, where the viewer’s eye naturally gravitates.
Instead of placing your subject in the dead centre of the frame, aligning it with one of the thirds gives a sense of dynamism and visual interest. For example, placing a horizon along the top or bottom third creates a balanced landscape shot, while positioning a person off-centre can make a portrait feel more dynamic and less static.
The Rule of Thirds isn’t a hard-and-fast rule, but it’s a useful guideline for beginners and pros alike. Once you master it, you can experiment by breaking it to suit your own artistic vision.
Nature & Wildlife Still Photography Basics
I love shooting Nature & Wildlife still photography. It can be a great way to learn and practice the basics of action photography, which can then be applied to sports and other forms of action photography. For those who are starting with the very basics here are my recommendations for the type of equipment to consider.
A good quality DSLR (Digital Single Lens Reflex) or Mirrorless Camera, such as Canon 7D, Nikon D3300 or higher quality, but something that gives at least 6-8 frames per second (fps) and is fast enough to make rapid fire shots. As Animals and birds are usually moving quite fast you’ll often need to take multiple rapid fire shots to capture that perfect moment.
A quality lens. A zoom lens can be often easier to carry in the field than multiple prime lenses, but zoom lenses usually sacrifice quality for flexibility. A 18-200mm Zoom is satisfactory to begin with but I recommend a 300mm or 400mm minimum as you will often be some distance from your subject.
There are many types of filters available for lenses and each have a different use. As a starting point I recommend at least a UV filter.
A tripod suitable for the weight of the camera and chosen lens or lenses. Good quality tripods allow for the head to be fitted via a screw mount, which allows you to select the tripod and head that best suits your own type of photography. Usually a Pan head or Ball head will give the flexibility to track an animal or bird.
A remote shutter trigger, preferably a wireless set that enables you to be some distance from your camera and tripod.
An electronic Flash either built in to the camera or preferably one that can be located on or off the camera.
A Bag for storing it all.
OK, with the basic gear covered (I’ll go into further detail in future posts if needed), let’s get onto the camera settings. Sure you could use Automatic, but that just uses the settings that have been programmed in by the manufacturers and may not necessarily give the best results in all circumstances. So take the camera off Auto and start experimenting initially with the semi-auto priority settings, and we can get into fully manual settings later. (the technical stuff is covered in my series of booklets on Basic Photography – contact me here for more details.)
If you are photographing a fast moving object and want to freeze the movement, then you need a fairly fast shutter speed, possibly around 1/1000 second or higher. So put the camera on Tv (Time Value) or S (Speed Priority). Different makers sometimes use different names, but Tv and S are the same thing. Preset your shutter speed and let the camera work out the aperture (f/stop) setting for you.
Set yourself up in a location where you expect wildlife to be (birds are a great starting point for this type of photography), mount your camera/lens on the tripod and be ready to line up the subject in the lens and start shooting.
When you begin, you’re bound to have a few dud shots, but that’s all part of the learning. The most important thing you can do is go out and have some fun. If you want to speed up the learning process, join me in Sydney on one of my small group or individual Workshops – more details can be found on the Workshop page here
Send me any questions you have about this subject and any let me know about your photography.
Geoff – Capturing the World around us through the Lens